Mazda Connect 2 (7 gen) Firmware Update Procedure
7G Mazda connect 2 CMU Software Checking Procedure
1. Turn on ignition or ACC with push button start.
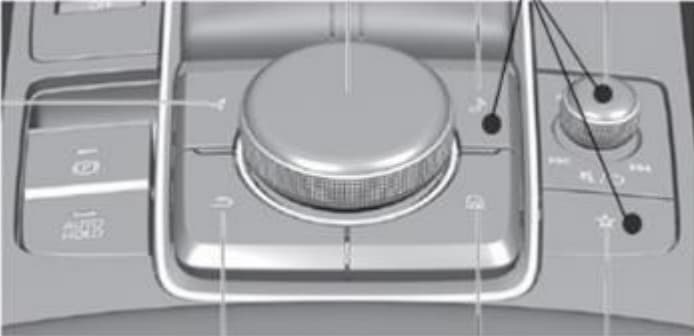
2. Press the volume mute button and keep pressing it.
3. Additionally press Music and Favorite buttons at the same time for 3-5 seconds and the Diagnostic Test Screen will appear.
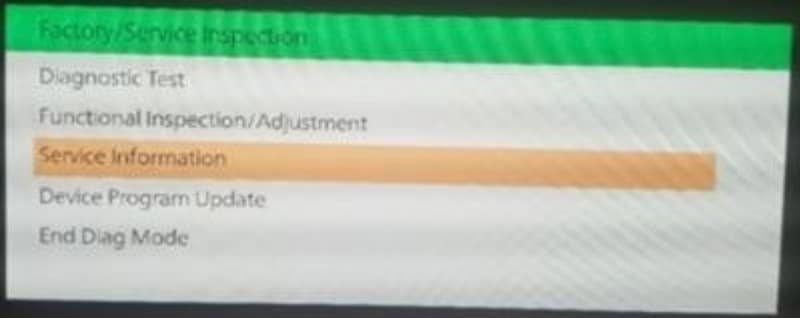
4. Select “Service Information” on the screen below.
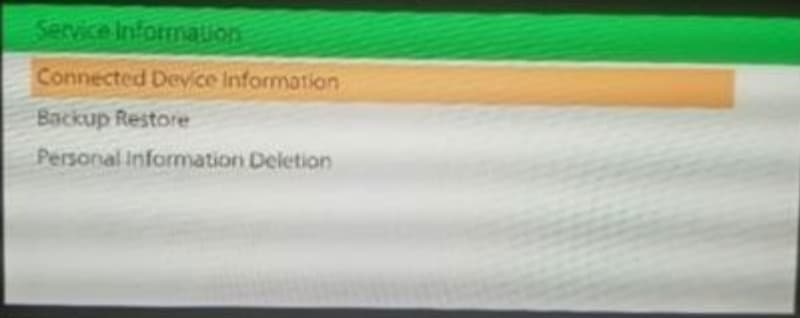
5. Select “Connected Device Information” on the screen below.
6. Select “CMU” on the screen below.
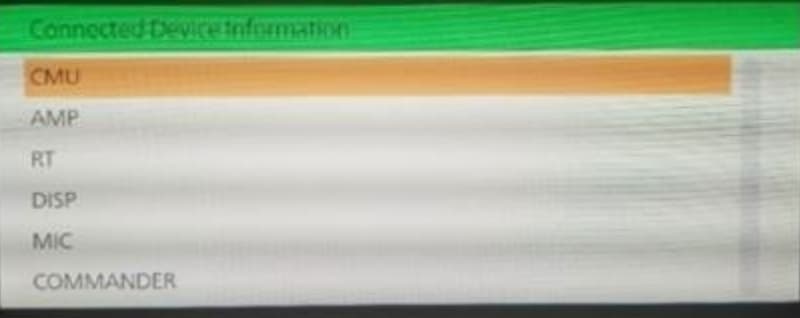
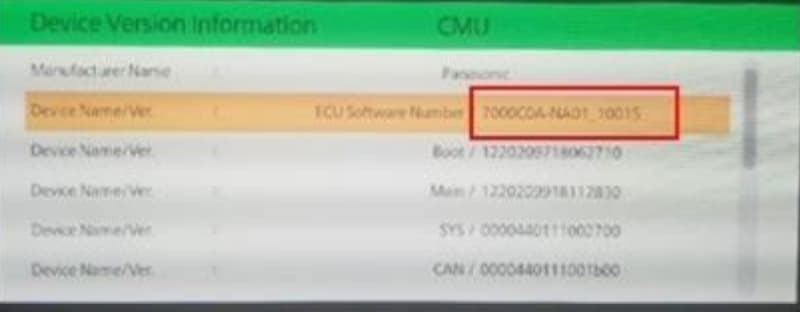
7. Check the CMU version in the second row of the list.
NOTE: CMU software version differs by markets.
CMU software version Market:
7000C0A-NA01_***** North America
7000C0A-EU01_***** Europe, Australia and New Zealand
7000C0A-4A01_***** General (R.H.D.) / (L.H.D.) except Hong Kong and Macau
7000C0A-HK01_***** Hong Kong and Macau
Sample shows the CMU software for North America.
7G Mazda connect 2 Software Update Procedure
1. Prepare a USB memory which contains the CMU software to be installed.
Format fat32. Capacity 4-16 gb. USB 2.0 preferred.
NOTE: The software version can only be updated. It is not possible to downgrade
the software version.
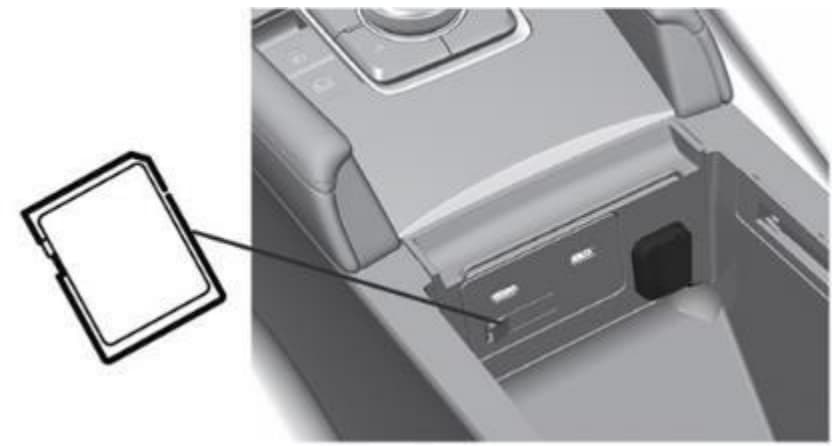
2. Remove the Navigation SD card from SD card slot of center console.
3. Turn the ignition to ACC or ON with the push button start.
NOTE: The update should only take about 10 minutes so check the vehicle in 15
minutes after the update starts so that the battery does not discharge. The vehicle
is not equipped with the ignition auto shutoff function like previous models.
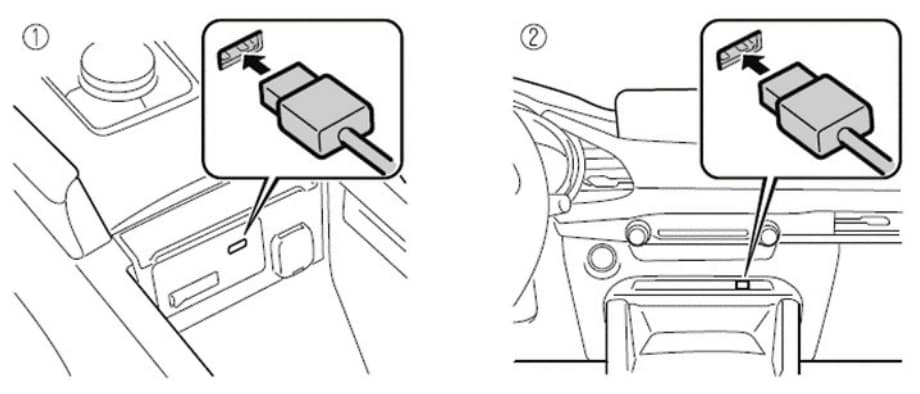
4. Insert the USB memory stick prepared at step 1 into a USB port.
NOTE: The memory stick can be inserted into either USB port.
5. Press and hold the Volume/Mute button, then press and hold the Music and
Favorite buttons at the same time for 3-5 seconds and the Diagnostic Test Screen
will appear.

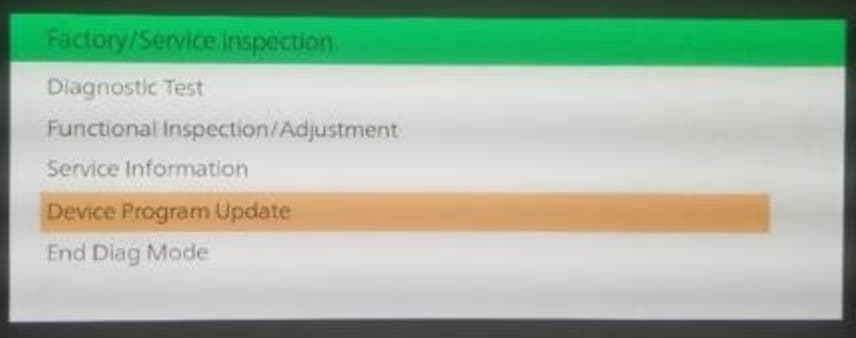
6. Select “Device Program Update” on the screen below.
7. Select “System Update” on the screen below.
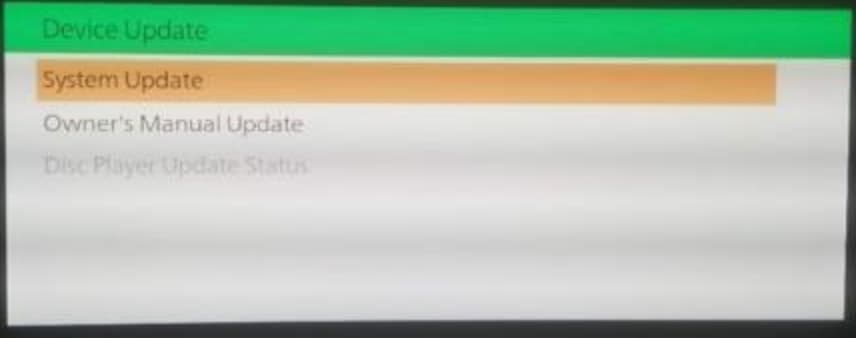
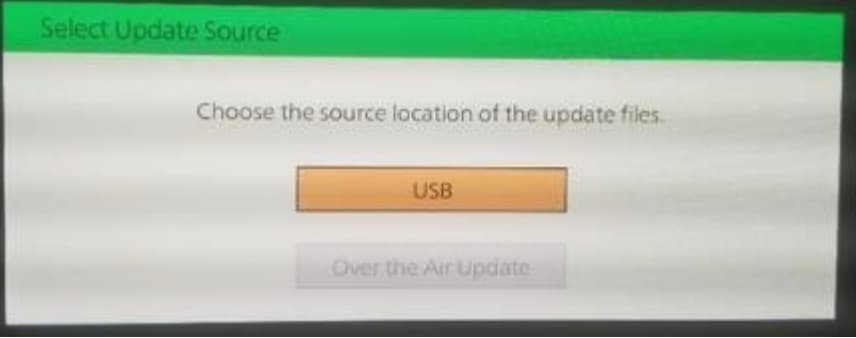
8. Select “USB” and the system will start checking for the update file.
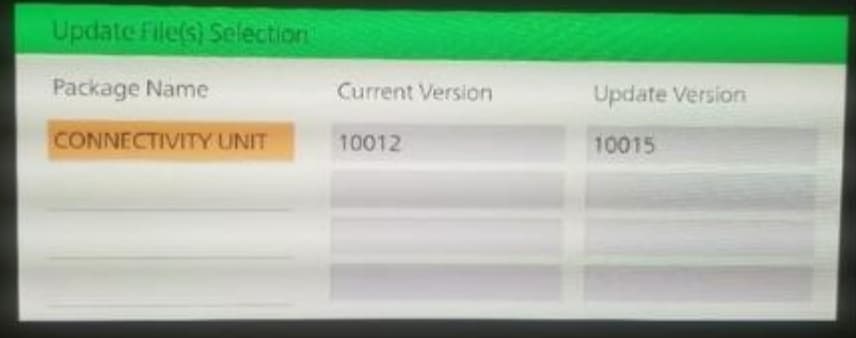
9. Select “CONNECTIVITY UNIT” on the screen below.
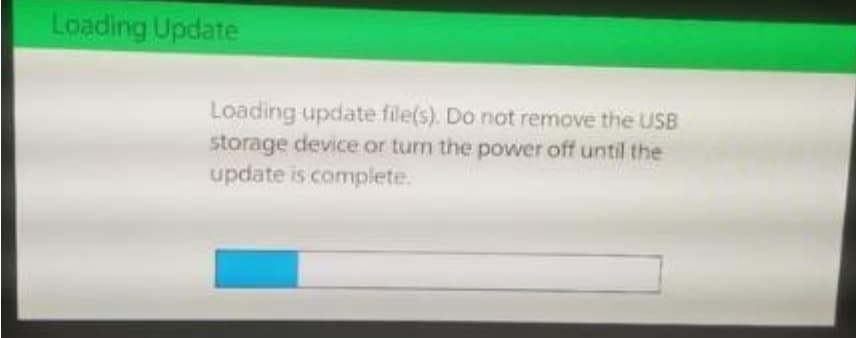
10. Select “OK” on the screen below and wait until the update (loading) is completed.
NOTE: DO NOT switch the ignition OFF until the update (loading) is completed.
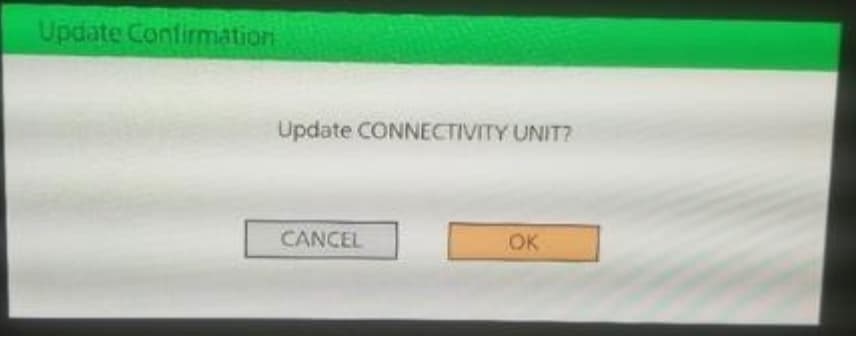
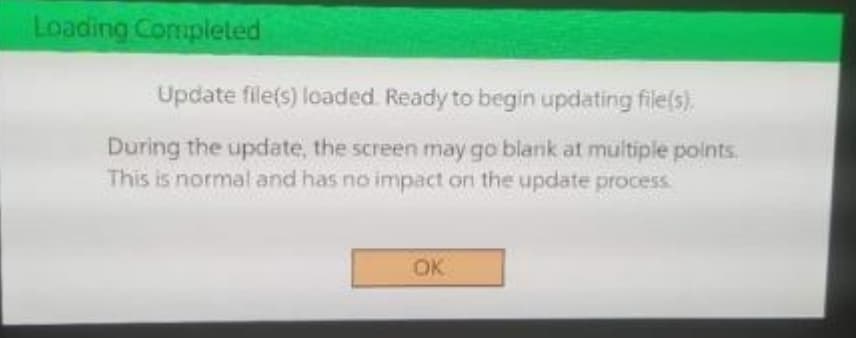
11. Select “OK” on the screen below. The data update will start automatically after 10
seconds if “OK” is not selected.
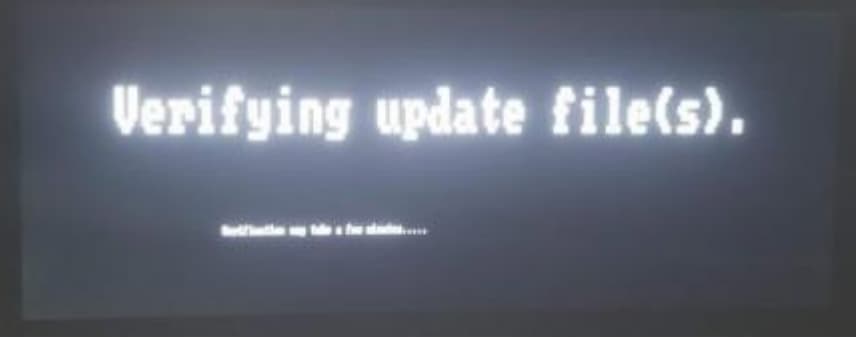
NOTE: After selecting “OK”, the system will reboot and the display will turn black,
followed by a “Verifying update file(s)” screen.
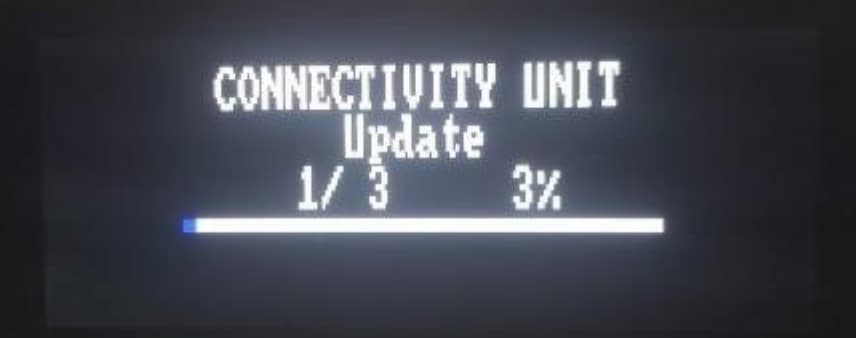
12. Wait until the update is completed.
NOTE: The system will reboot several times during the update process.
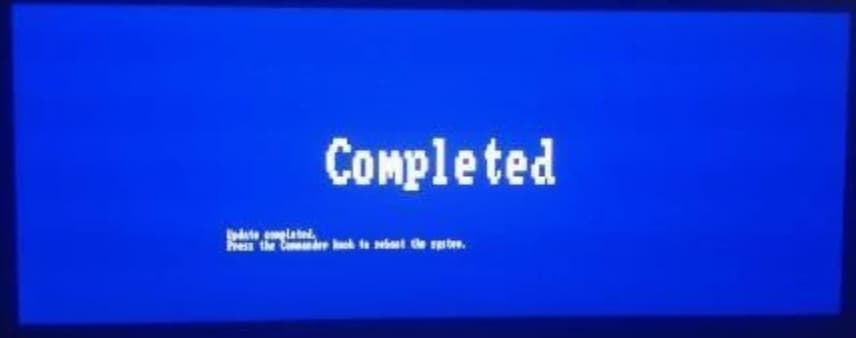
13. Remove the USB memory stick from the USB port.
14. Press the commander knob to reboot the system.
15. Check the CMU software version according to the instructions above “CMU
Software Version Verification Procedure”.
16. Switch the ignition OFF and insert the Navigation SD card.
Download Mazda Connect 2 (7 gen) Firmware Update here

0 Comments for “Mazda Connect 2 (7 gen) Firmware Update Procedure”